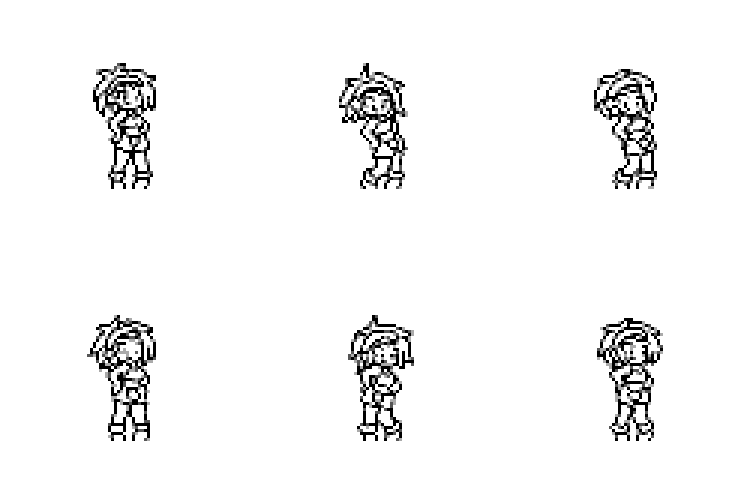
My rough spriteRough sprite + contrast
Official spriteRough sprite + contrast + color
I experimented with a bilinear resizing technique where I quickly traced the large version of Rottytops from Shantae Half-Genie Hero and turned it into a small sprite similar to the one in Shantae Pirate’s Curse.
#
My mind has been racing with ideas ever since I figured out I could (probably) use Bilinear resizing as a shortcut to create anti-aliased lines for sprites.
#
#
Here’s a crazy idea. What if I took one of the hi-definition animations from Shantae Half-Genie Hero and traced over it to create a sprite the same size as the one in Shantae Pirate’s Curse? I’ll just trace every other frame of the hi-def sheet to get approximately the same number of animation frames.
#
It turns out this idea requires kind of a peculiar technique with the pen. If I merely trace over the outlines then the resized version turns into a messy blob, however…
#
… If I trace outside of the outlines then it just barely manages to look right. Essentially outlining the outlines. This makes sense if you think about it. Smaller sizes require larger and simpler details. So the gaps between lines need to be wider.
#
(Note to self: Try doing this using Paint Tool Sai’s vector lines set to a large thickness to force myself to space apart the lines)
#
But this takes a little practice and kind of a weird mindset. I got the hang after a couple of frames.
#
#
rougher sketches than this. This is basically rotoscoping for sprite art!
#
And later after playing with contrast levels and a little posterizing I was able to turn the small version into these VERY sharp lines!
#
#
I was also able to get a similar effect with the large version using this contrast curve. Which means that if I want to make larger pixel-art I can just use this to instantly turn a quick sketch into pixel-art lines. It gets me 90% of the way there.
#
#
#
 My rough sprite
 Rough sprite + contrast
 Official sprite
 Rough sprite + contrast + color